Splicing clock ropeby Geoff Levy, UK
Download a pdf of this article
Most of us are somewhat daunted by the sight of a broken or unusable 30-hour clock rope and tend to reach for the catalogue of chain conversion kits. There have been articles showing how to splice a braided rope but most of them seem to recommend a lot of tapering down the strands and twisting them together. I had two tries at that and landed up each time with a big ball of fluff, which would not have supported an 80z weight let alone an eight pounder. (It should be noted here that many 30-hour clocks happily go on a 4lb weight.) So here is my solution that is easy and gives a result that is nearly, but not quite, as good as the original rope if the splice is done carefully.
Tools required are a pair of sharp scissors, a stiletto, a pair of thin-bladed tweezers, some means of holding the rope ends, some string or small elastic bands, a marker pen and a tube of Copydex.
Cut the braided rope cleanly at each end, allowing a total of 4in extra for the splice. Seal each strand with a tiny dab of Copydex to prevent fraying. Squeeze the ends into a point if possible while the gum is soft.
If you want to have two tries at splicing then allow 8in, and don’t forget to thread the rope through the counterweight and the pulley before proceeding further. If the clock is already assembled then it should go through the clock as well.
Slip a tight elastic band over each end 2in from the cut end, then unravel the braided sheath as far back as the elastic bands. With the marker pen make a mark on the core as close to the braided sheath as possible.
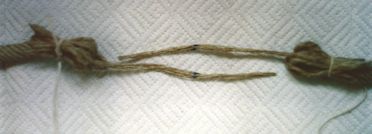
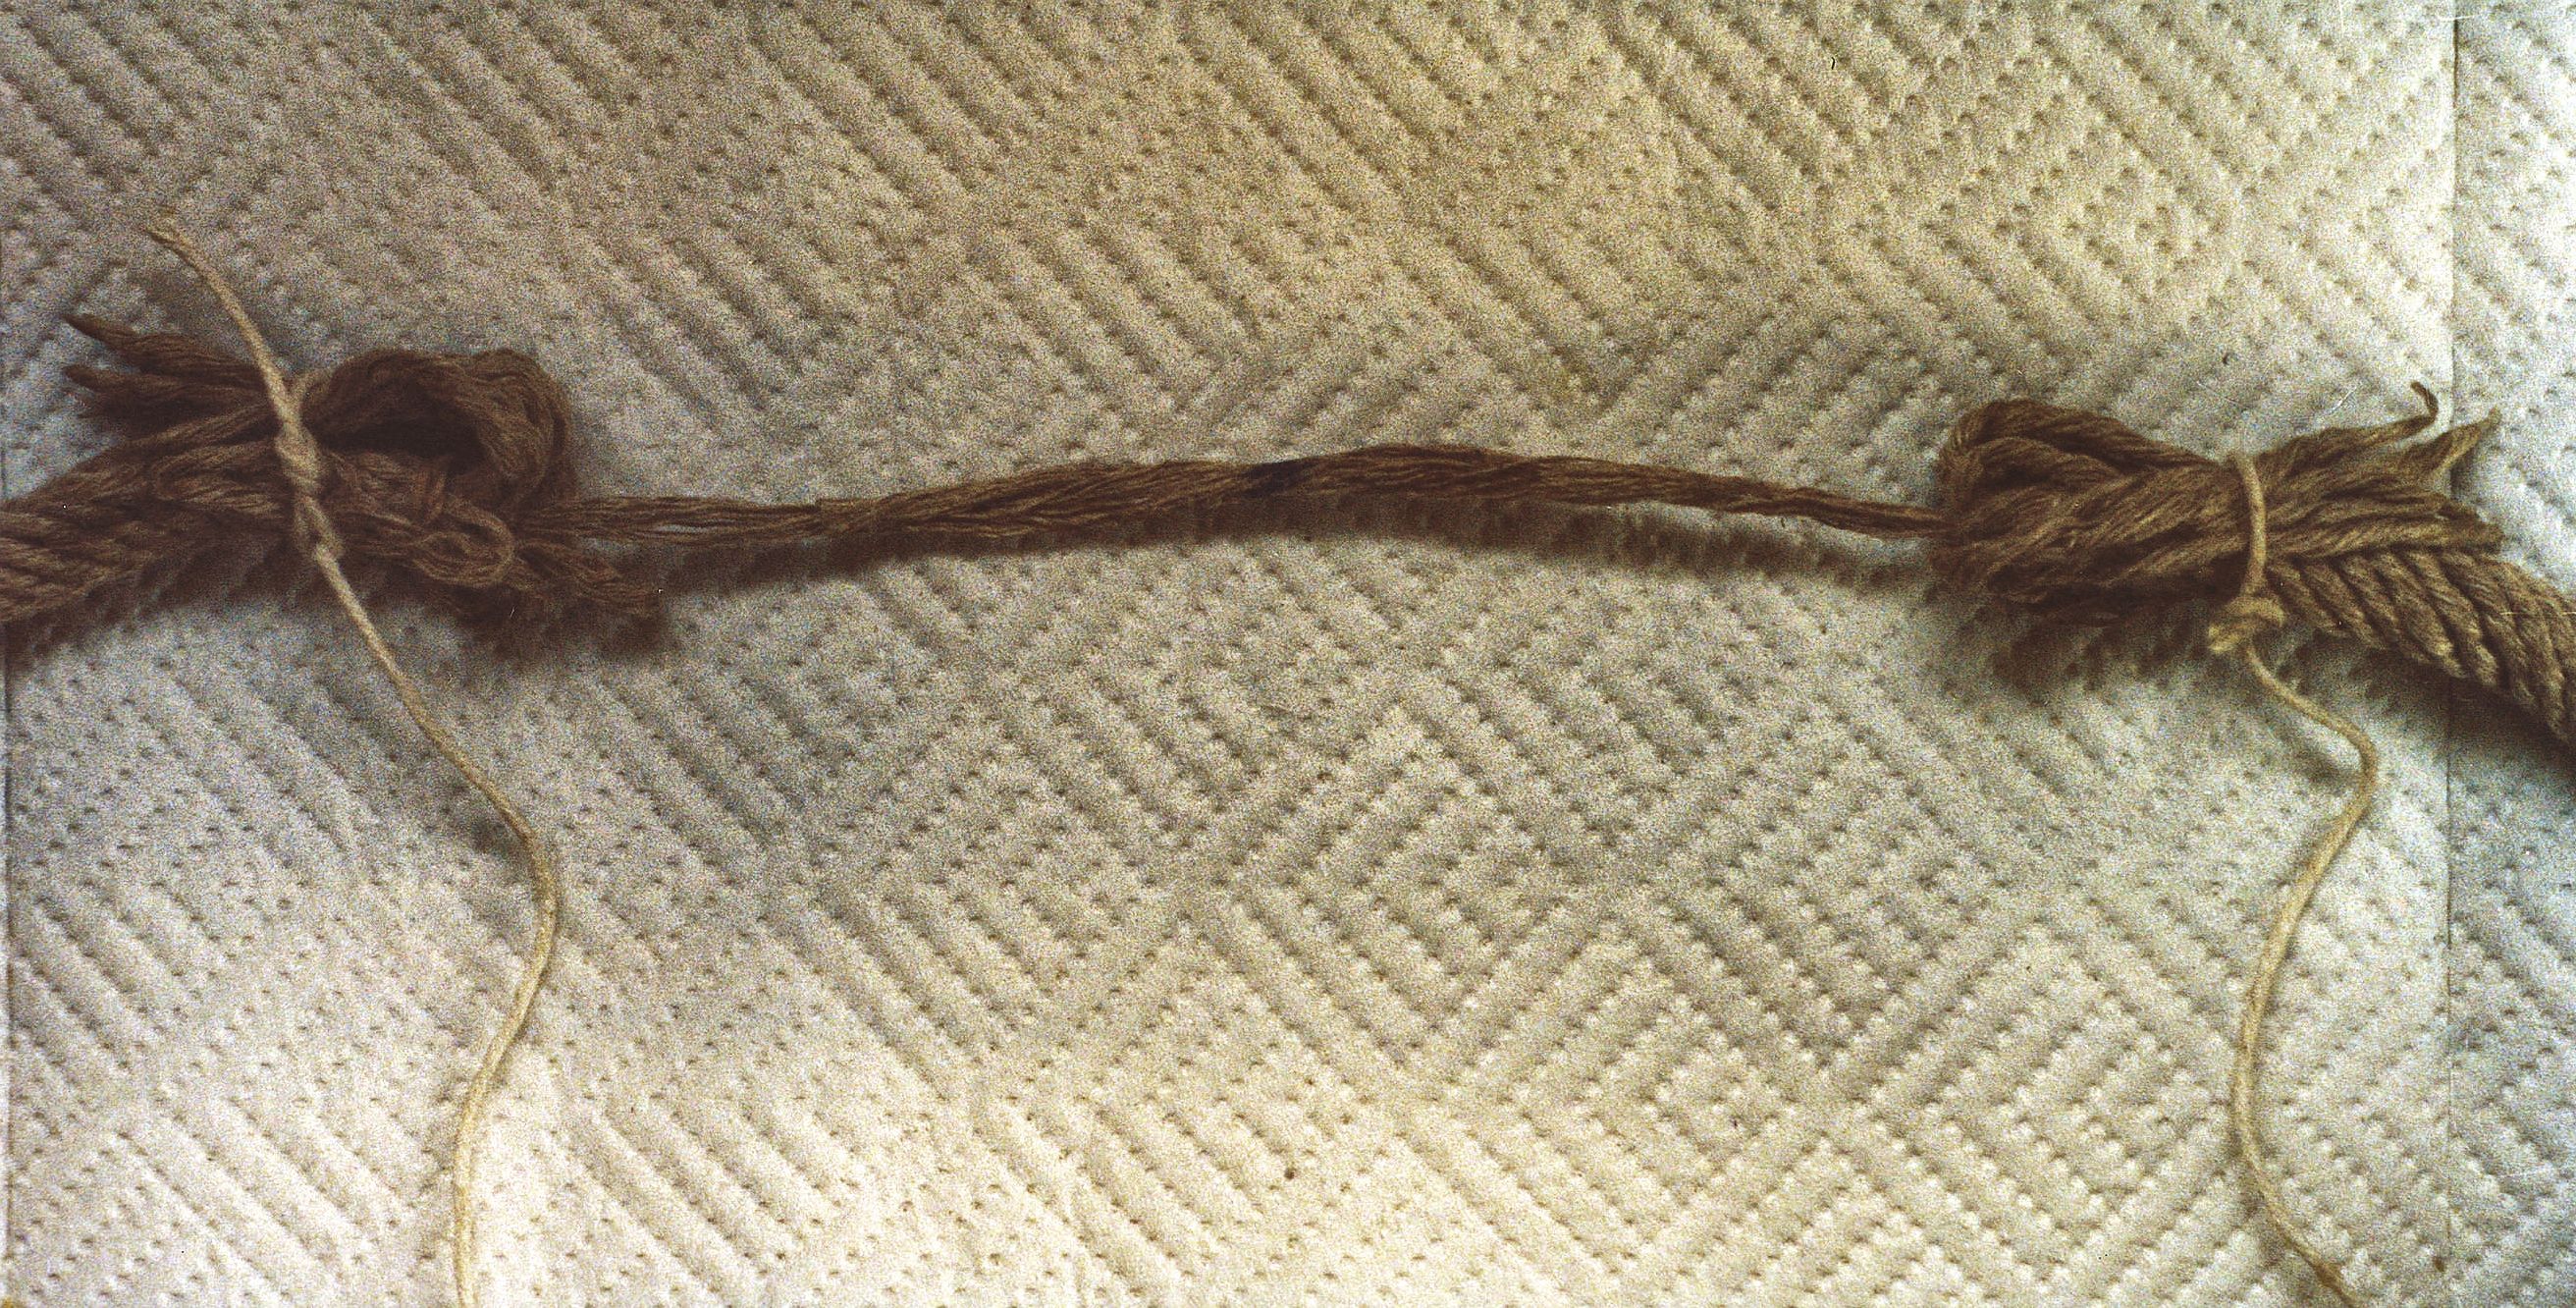
Now slide the sheath back exposing 4in of core at each end of the rope, and taper off each core slightly and lay them side-by-side with the pen marks together, figure 1. Merge the two core ends by working them together with your fingers.
Here you can help lock the cores together with tiny well-separated dabs of Copydex, but it is essential that the barest minimum is used and that the spots are well separated so that there is no loss of flexibility in the splice. This same comment applies to all use of Copydex as it is worse than useless landing up with a straight stiff 4in length of splice because too much has been used.
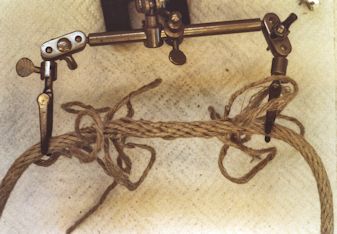
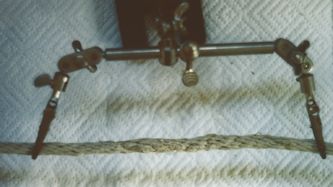
When the Copydex is completely dry, slide the braiding forward again until the two sides butt and completely cover the core. Remove the elastic bands. Two small vices or a soldering support as shown in figure 2 will now be useful.
Try to match up opposing pairs of strands prior to starting the actual splice. Care taken at this stage will give a great improvement in final appearance, size and flexibility. Select two corresponding strands. Unpick the left one a little at a time and at the same time feed in the right hand one in its place for about 2in.
When the strand is in place it should be tightened and ‘dressed’ so that it looks and behaves like the original. In a few moments you are going to weave other strands past this one.
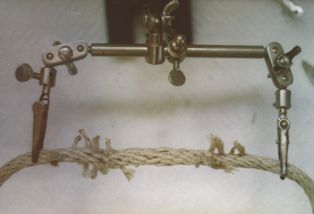
Select the two neighbouring strands and thread the left one 1/2in into the right core, as above. Continue round the braided sheath lengthening the right-hand overlap by 1/8in and shortening the left-hand overlap by 1/8in each time. Figure 2 shows the splice when some of the strands have been threaded through. The objective is to have the strand ends staggered all round and along the splice. The number of strands determines how often you have to move the strand joint back and forth. Figure 3 shows the staggered cut ends.
Now cut off the loose ends and tuck them in. When they are tucked in they should not overlap or else they will thicken the splice. If necessary the loose ends can be tucked in along with a dab of Copydex, but again one must be very sparing so as not to make the joint rigid.
The finished splice should be as flexible as the original rope and not noticeably thicker, figure 4. The illustrated example is not perfect: you should be able to do better by taking more care.
Download a pdf of this article
|
|

